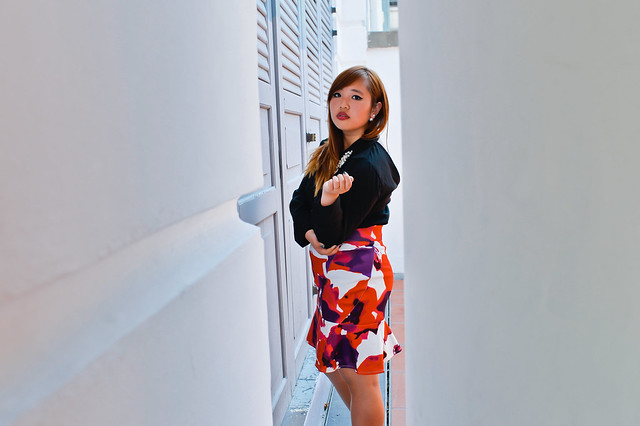
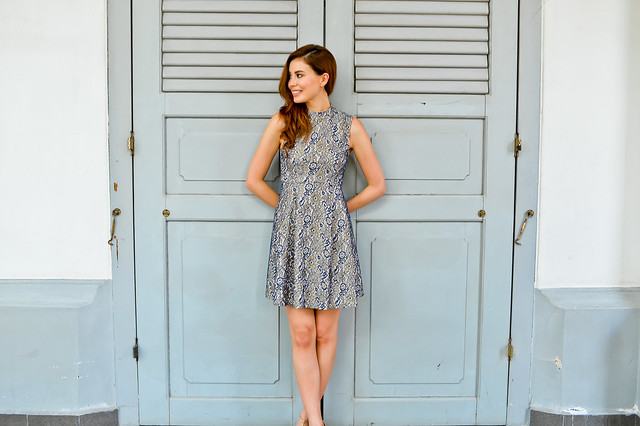
Top: Eightslate | Skirt: Tuulla the label | Earrings: JL Heart Jewellery | Necklace: Tulla the label
Let me first start by saying that I am by no means a professional photographer, and neither do I consider myself a fashion blogger. It somehow transpires, however, that I do always get questions on my camera equipment and how I take my OOTDs, so I thought I’d just share some of my personal thoughts and tips on fashion photography for those of you who’ve been asking!
Camera Equipment:
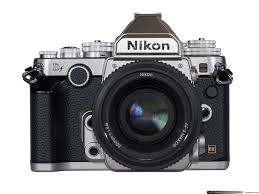
I nearly never shoot OOTDs on my phone unless I have absolutely no choice, because it just doesn’t give me the depth of field you need in a portrait or outfit shot. For all the pictures in this post, I’m using the Nikon Df, a camera that is photogenic as it is professional, on a AF-S Nikkor 35mm F1.8G lens.
When readers ask me what starter lens I recommend, I always name the 50f1.8, whether you’re on a Canon or Nikon camera system. Camera Basics: The mm number (50, in this case) stands for the focal length and affects how much stuff your camera can capture, and the f-stop number stands for aperture and affects your depth of field. The 50f1.8 is a cheap prime lens (about a hundred bucks), which gives you a beautiful depth of field and a surprisingly gorgeous bokeh for it’s price point. However, the 50mm is very much a zoom lens, which means that you’ll have to stand much further back to get a good amount of stuff in your picture. On a full frame camera like the Nikon Df, it’s a tight fit already, but on a crop sensor camera like most entry level DSLRs, it’s really more like 75mm than 50mm. So, if you can afford it, I’d recommend the 30mm lens as a great compromise. You get the same beautiful depth of field, but a better range, and you won’t have to stand as far back to get your whole body in the shot.

Circumstances:
Unless you’re doing some sort of themed shoot, I highly suggest you shoot in the day. Lighting is key in photography. The best time to shoot outdoors is 8-10am, followed by 5-630pm (the fabled golden hour). Due to our own scheduling constraints, we shot these at about 2pm, keeping the ISO at a straight 100, and I personally felt like the light was a little harsher than I’d like, but I think they still turned out pretty well so hey, just imagine how they’d look during better hours!
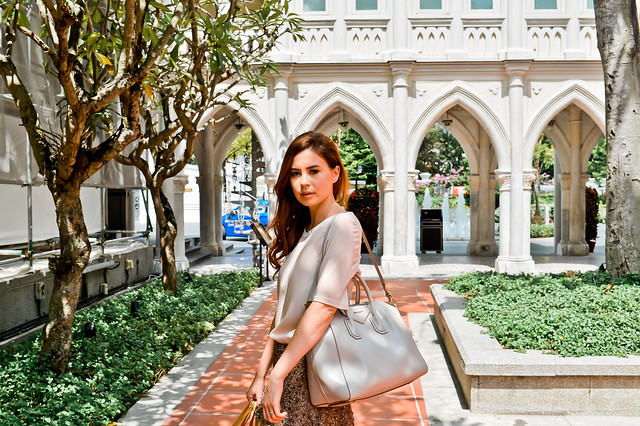
Nikon Df on a AF-S NIKKOR 35mm f/1.8G ED lens
ISO 100 | Shutter Speed 1/250 | f/8.0
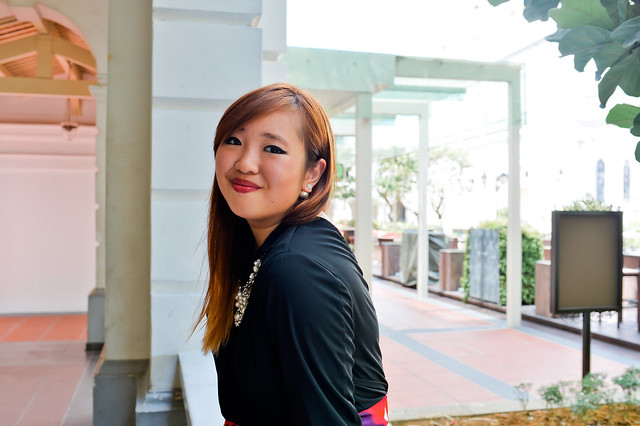
My model for the day is FOX TV presenter and my own old friend Yvette King. Yvette is obviously gorgeous and very easy to shoot, for which I’m grateful because then I can focus on getting the settings for the camera just right. So – a tip for those of you in front of the lens: be confident! I know it sounds a lot easier said than done, but this really is one of those cases where you fake it till you make it. Awkwardness is a quality that is somehow always captured in startling clarity on camera, and this is very much about knowing and being comfortable with who you are and what you look like.
So, enough chit chat, down to the photography itself!
Five Tips to get you started on Fashion Photography
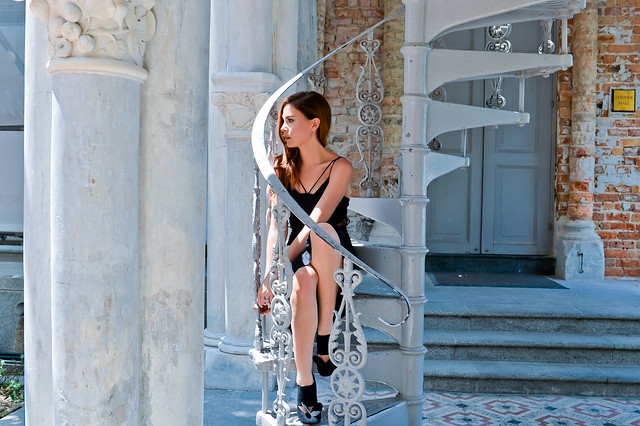
Nikon Df on a AF-S NIKKOR 35mm f/1.8G ED lens
ISO 100 | Shutter Speed 1/160 | f/6.3
Tip 1: Play with light.
Most times, people want even lighting on their face and clothes, which is safe, but can be a little flat sometimes. Dont be afraid to play with light and shadows – I love how the light here falls partially on Yvette’s face and gives the whole picture more dimension!
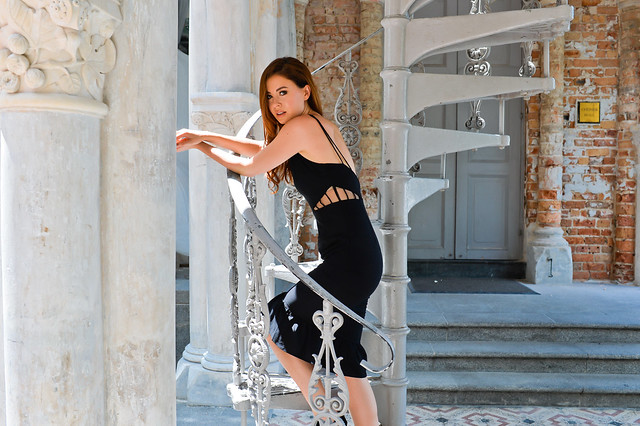
Nikon Df on a AF-S NIKKOR 35mm f/1.8G ED lens
ISO 100 | Shutter Speed 1/160 | f/5.6
Tip 2: Play with Tones
Same angle, more even lighting, warmer tones.
This only applies if you have a camera with the capacity for in-camera color profile editing. The thing about the Nikon system is, you can adjust the color tones within the camera itself to save on post processing time within the Picture Controls menu – Standard, Neutral, Vivid, and even tweaking fine details such as saturation boosts within the camera itself can let you save a whole new “filter” to use with the camera. What I always try to do is get all my pictures as close to what I want my final product to look like on the camera itself, so post processing time is brought down to a minimum.
The advantages of being able to play with tones – you get to set a certain “mood” for your pictures, and this is generally helpful when you’re trying to create a portfolio or a sort of running coherence in your instagram feed. Ie. Garypeppergirl’s photos are all vivid while Mermaiden’s photos are all a little faded and dreamy. This is mostly to do with filters, but how easy it is to achieve these respective effects depends on how the picture was taken as well.
Nikon Df on a AF-S NIKKOR 35mm f/1.8G ED lens
ISO 100 | Shutter Speed 1/400 | f/10.0
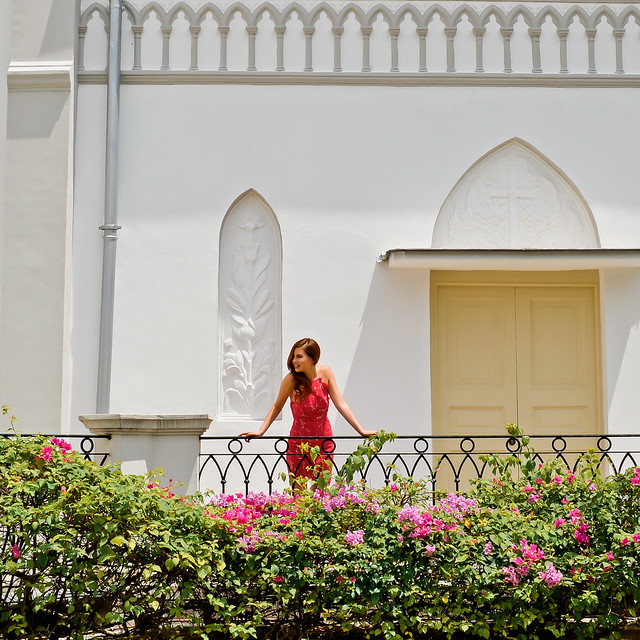
Tip 3: Play with angles.
This is a pretty obvious tip, but I think I should put it in anyway because most people don’t consciously think about it. When taking someone’s photo / having your photo taken, it’s not just about how the subject is posing, it’s also about the angles the photographer is playing up for different effects. In the above, you see a straight on shot – which suffices for this case, because the main point of the picture is the dress picking up the pink in the bougainvillaea and the two complimenting each other. On the other hand, see below:
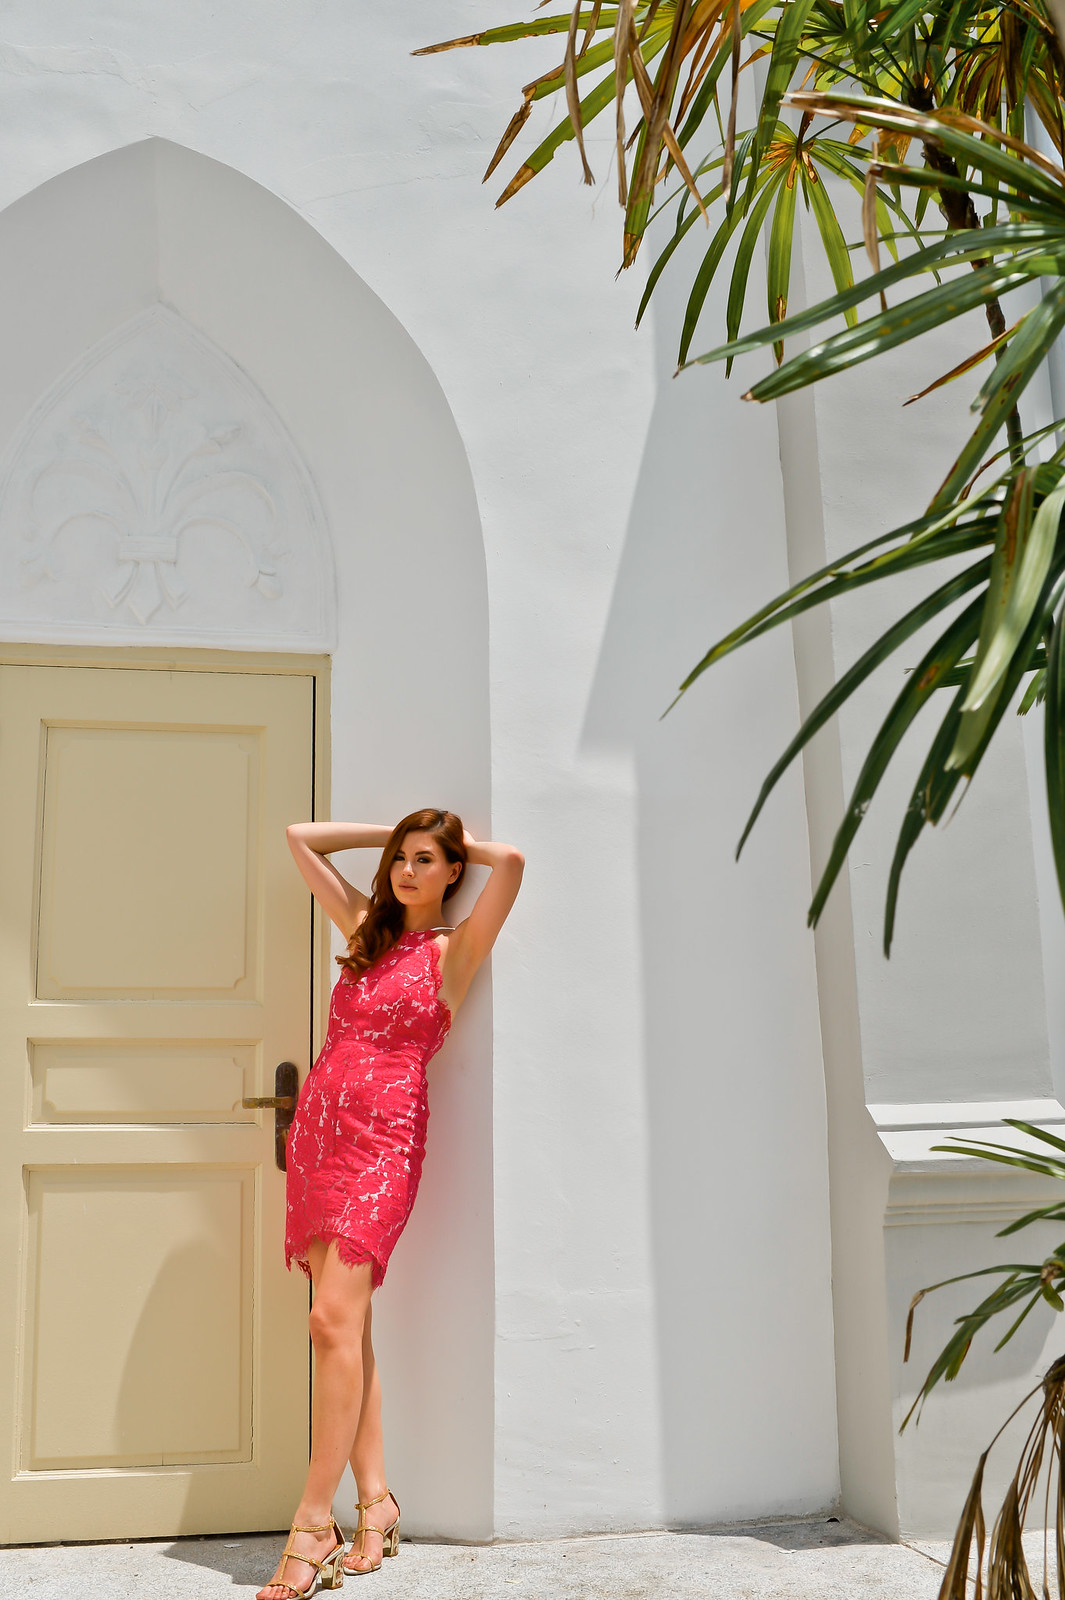
Nikon Df on a AF-S NIKKOR 35mm f/1.8G ED lens
ISO 100 | Shutter Speed 1/500 | f/11.0
I had to basically hide behind a potted plant and lie on the floor for this shot. Why: I wanted to get the fronds of the plant in the picture as a sort of frame, and also to add a bit of colour into the picture. I personally like greens in my pictures because I think they can be edited very nicely, but it’s really up to personal taste. Additional bonus: Yvette looks taller and more svelte than she already is.
It’s really down to personal taste for matters like these, but I feel like the less objects you have in the picture, the less geographically pinned it is. In the picture above, Yvette could be anywhere – we joked about the picture being called My Mediterranean holiday.
Nikon Df on a AF-S NIKKOR 35mm f/1.8G ED lens
ISO 100 | Shutter Speed 1/135 | f/5.6
Nikon Df on a AF-S NIKKOR 35mm f/1.8G ED lens
ISO 100 | Shutter Speed 1/160 | f/6.3
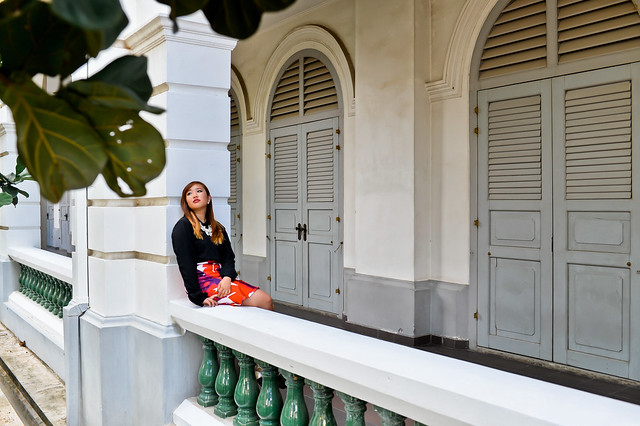
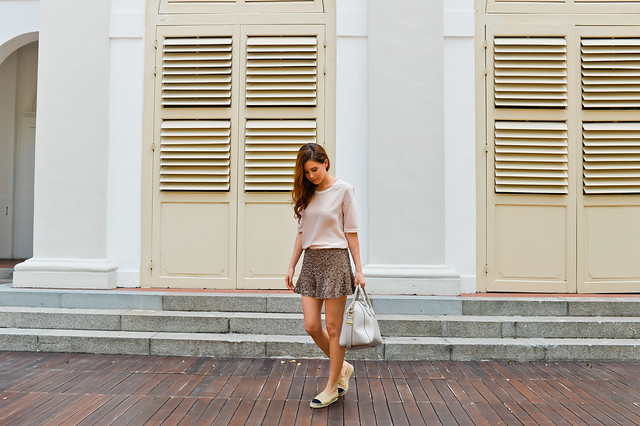
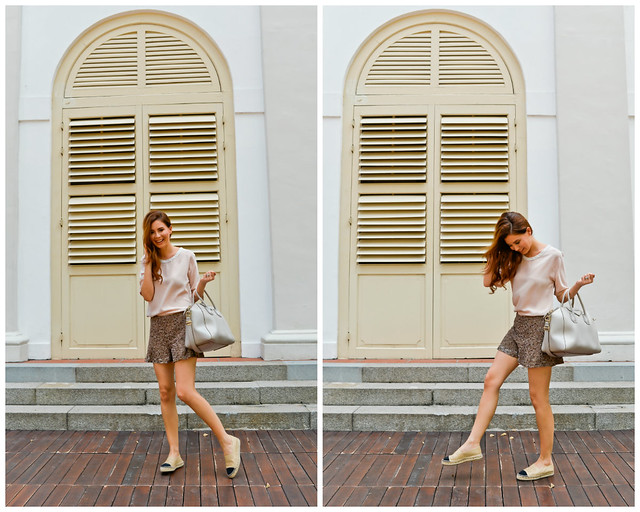
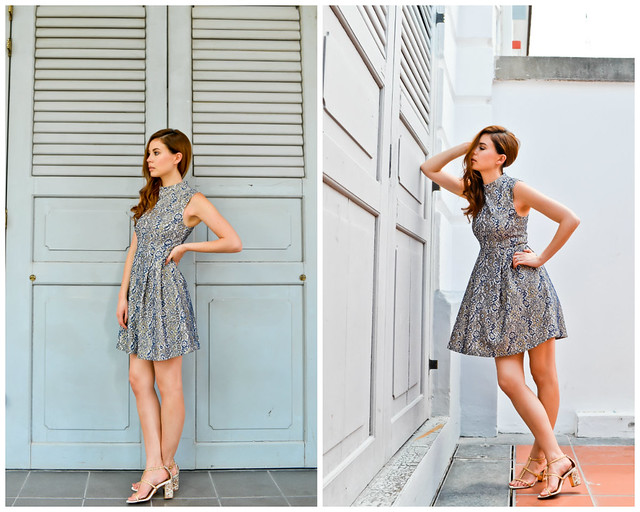
This look is something a little more day-to-day and casual, a loose top with sequinned shorts and espadrilles. Because the color palette of her outfit is so earthy, we shot this straight on against wooden floors, white walls, and off-white doors. These photos are also taken from a slightly lower-than-eye-level angle.
General rule: Photos taken from a lower angle will make you look taller but it might be slightly unflattering on your facial features, while photos taken from a higher angle will make you look stouter but slimmer.
Nikon Df on a AF-S NIKKOR 35mm f/1.8G ED lens
ISO 100 | Shutter Speed 1/400 | f/10.0
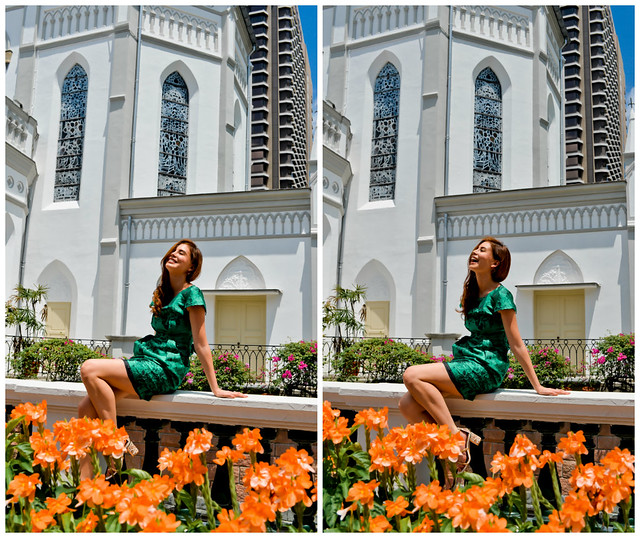
Since we’re on the topic on angles – Tip 4: Play with Perspectives.
This picture makes Yvette look like she’s prancing around in a field of orange flowers, but the truth is, it’s just one tiny flower bush right in front of the concrete railing! To get this picture, I crouched behind this tiny flower bush and angled the camera so that the flowers filled up all of the lower half of the screen. Then I took the pictures from a slightly slanted angle (right to left) so we had more distance to play with – we couldn’t move the bush, and we couldnt move the concrete she’s sitting on, so we moved ourselves. She scooted a little further along the concrete, and I moved to slant myself accordingly. The result: we had more ‘distance’ in between Yvette and the flower bush, which worked better for the picture – otherwise, she’d have been so close that we would only have been able to get very little of the dress, or very little of the flowers.
The bottom line is, learn to manipulate the camera perspectives and you’ll have a lot more to work with than just a bush that’s way too near the concrete to get any usable pictures.
Tip 5 – Be Symmetrical
When starting out with photography, one rule that most photographers swear by is the Rule of Thirds. It’s a photography basic, and draws from the Golden Ratio – you can read more about it here, with a helpful grid gif to assist you in visualising the concept in action. When I started out, this was what I always fell back on – mentally dividing your image into three, then framing your perspective accordingly. It was a failsafe – it delivered interesting, solid photos each time.
But photography is nothing if not an avenue of expression for your personal style, and as you go along, you can play with your pictures and take photographs of people just slinking around the corner of the frame or place them slightly off-center for a quirky, individualistic vibe. Your photographs are a reflection of your perspective, and you’ll find that you start to prefer one style over others and develop yourself as a photographer as you go along.
Personally, I prefer photos that are symmetrical and centered, something I’m sure comes off pretty strongly in my instagram feed and the pictures above. But that’s just me. Once you’re comfortable behind and in front of the lens, feel free to play around – remember, you should enjoy what you do. If you find yourself stressing out over all the rules you have to follow, take a step back, relax, and approach it again, keeping in mind that this is just to get you started and should serve only as a general guide!
–
Well, that’s it for today: five personal tips from me to you that I feel worked best for me. If you have any tips, feel free to share, otherwise, I hope this helped those of you who’ve been asking/ who always wanted to try but never got up the guts to pick up the camera! Photography is really one of those things where practice makes perfect, so while I’m far from perfect, at least you really feel this rewarding sense of continual improvement as you see your pictures get better and better. Go out, experiment, and all the best to you guys! x
x
♥jem
*This post is written as part of a series of travel photography articles for Nikon Singapore and originally appeared on Nikon.com. Hop over to Nikon Singapore for more!